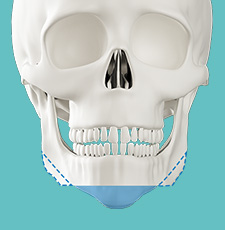
01
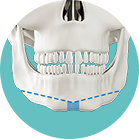
Y Osteotomy
Forms a Y shape, enabling fast recovery without the need
for secondary angle refinement.
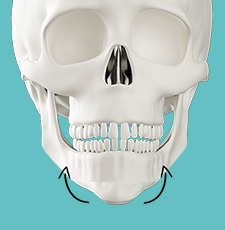
02
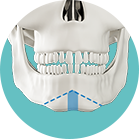
ㅅ Osteotomy
Applied when the nerve line is low.

03
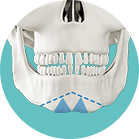
T Osteotomy
Effective for those with square faces due to jaw corner development and a broad front face.

04
W Osteotomy
Refines both the jaw end and facial line simultaneously without requiring secondary angle refinement.
05
M Osteotomy
Suitable for those desiring a sleek jawline from
the bottom to the front end.